Repairing a shoe with a 3D printer
I got my 3D printing license last year, courtesy of the Stadtbibliothek Köln offering free printing to any card-carrying member who sits through their two-hours course "please don't burn down your fingers, the printer, or the library". The printer has been vital for replacing items that are too important to live without but too cheap to sell as spare parts, which brings me to today's topic: shoes.
If you haven't spent the last week obsessing over shoe spare parts you may not know that the heel cap is the part of the heel of a shoe that makes contact with the ground. A shoe without heel cap is useless because you can't tiptoe everywhere but there is no store around me that will sell a replacement for this specific model. A friend of mine lost one of those recently and you can imagine where this story goes from there.
The first step in making a replacement heel cap is to take measures of the part you want to replace. Since I didn't have my caliper at hand I took a picture of the heel where the replacement should go along with a reference of known size, a trick I picked from this scene of the 1999 movie "The bone collector". Here's the picture in all its grainy glory:
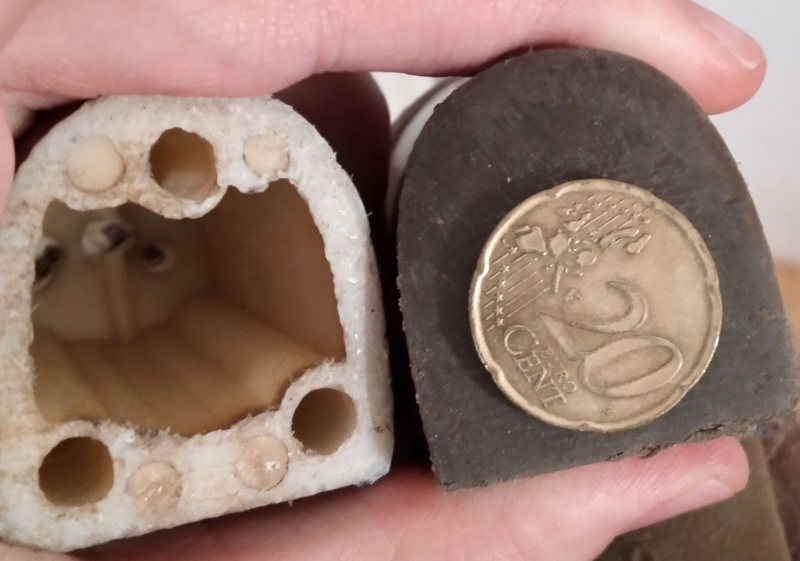
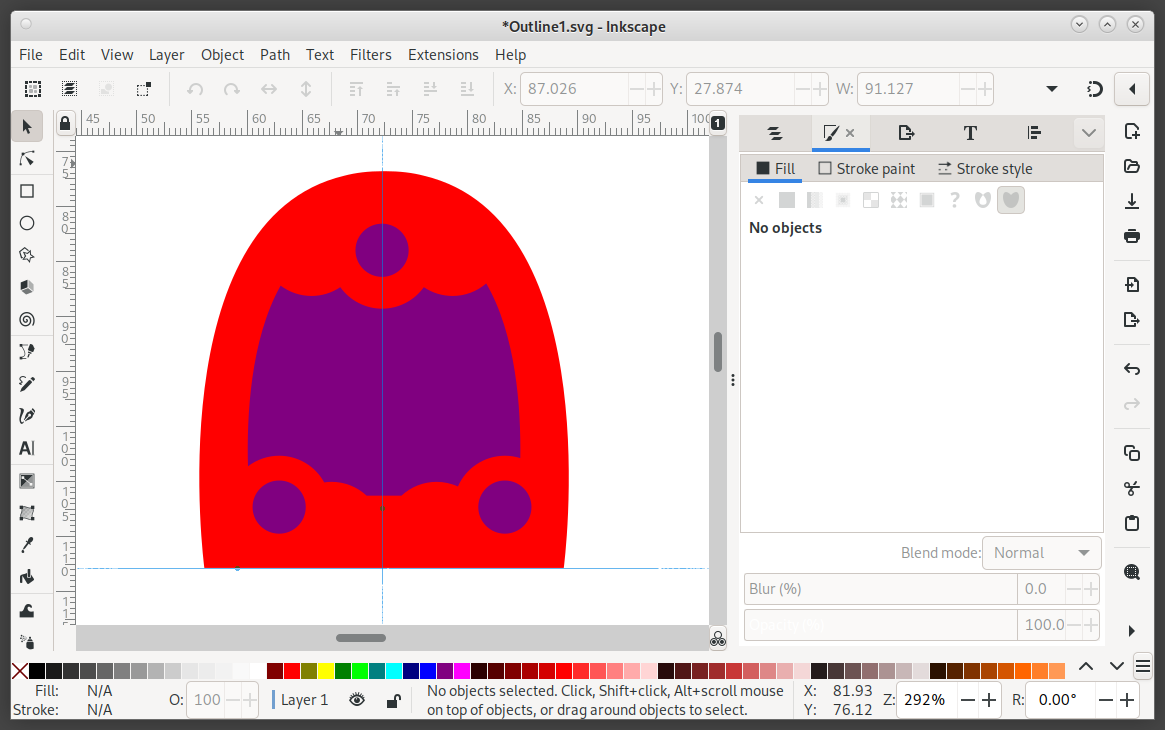
Next we need to trace the contour. A 20 cent Euro coin is 22.25mm wide so I imported the image in Inkscape, created a circle of exactly that size, and then resized the image until the coin in the picture matched the circle. I then traced the main forms on screen trying to take perspective deformation into account and ended up with a decent design.
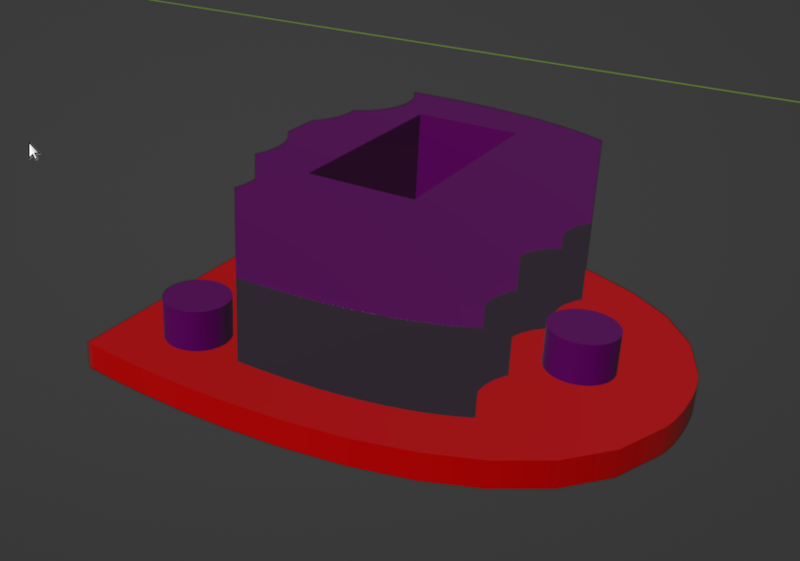
While probably not the best tool for this specific use case, I used Blender to generate 3D shapes for these curves using extrusion, a process where you take (say) a circle, push it in a straight line, and end up with a 3D cylinder. I extruded every part individually, estimating 2mm for the bottom, 5mm for the guides, and 15mm for the main internal support. I finally saved the project as .stl for MakerBot Desktop, and we are ready to go.
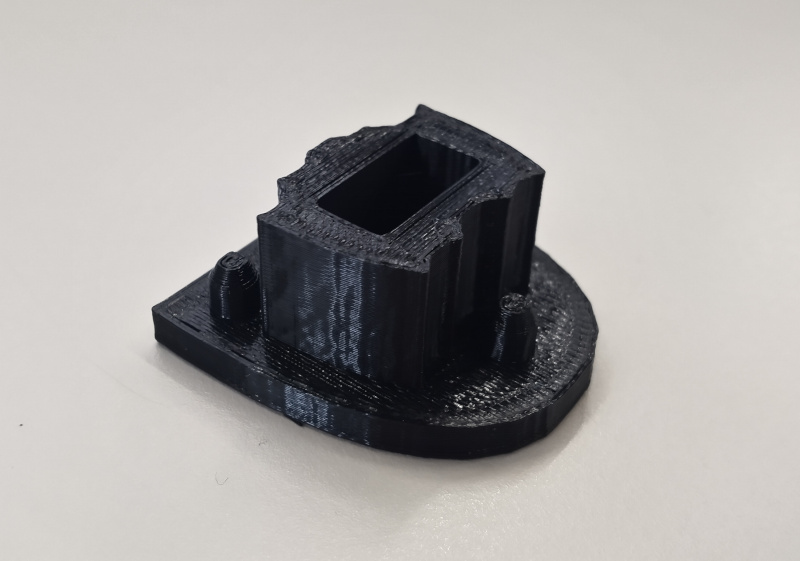
One visit to the library and 30 minutes later, the first draft was ready for a test fit. I asked my friend for her shoe, took out my caliper for the necessary adjustments... and the draft piece fit perfectly on the first try. So all that remained was a second visit to make the piece tougher and deeper (just in case), and we are done.
This is not the first custom piece I print, but it's the one that made me realize how truly useful this technology has been to me. And you don't even need to know how to 3D model when sites like Thingyverse offer a wide array of ready-made designs for free. If you have the chance, you should definitely give it a try.
